There’s nothing quite like the crisp, refreshing taste of a glass of apple juice, especially when it’s made fresh in your own kitchen. While store-bought options offer convenience, they often come laden with added sugars, artificial flavors, and preservatives that can diminish both the nutritional value and the pure, natural taste of apples. Learning how to make apple juice at home not only puts you in complete control of the ingredients but also opens up a world of customizable flavors and unbeatable freshness. Whether you own a dedicated juicer or simply have a blender on hand, crafting your own delicious apple juice is a straightforward and rewarding endeavor. Let's dive into the simple methods and discover the joy of homemade apple juice.
Why Opt for Homemade Apple Juice?
The decision to make apple juice at home goes beyond just a culinary adventure; it’s a choice for better health, enhanced flavor, and environmental consciousness. Here’s a closer look at the compelling reasons to ditch the carton and embrace the homemade:
- No Additives or Preservatives: This is arguably the biggest advantage. Store-bought juices often contain ingredients like high-fructose corn syrup, artificial sweeteners, and chemical preservatives to extend shelf life and enhance flavor. When you make juice at home, you’re drinking pure fruit, free from any unnecessary or potentially harmful chemicals.
- Customizable Flavor Profile: The beauty of homemade juice lies in its versatility. You can experiment with a single apple variety for a distinct taste or blend several types to create a complex flavor. Beyond apples, you can infuse your juice with ingredients like fresh ginger for a spicy kick, cinnamon for warmth, a squeeze of lemon for brightness, or even a few sprigs of mint for an invigorating twist.
- Unmatched Freshness and Nutrient Retention: Freshly squeezed juice is a powerhouse of vitamins (especially C and A) and minerals like potassium, along with a rich supply of antioxidants. Unlike processed juices that undergo pasteurization, which can reduce heat-sensitive nutrients, homemade juice retains a higher concentration of these beneficial compounds. The immediate consumption ensures you’re getting the maximum nutritional benefit. To delve deeper into the health advantages, read our article on Unlock Freshness: The Health Benefits of Homemade Apple Juice.
- Eco-Friendly Choice: By making your own juice, you significantly reduce your contribution to packaging waste, particularly single-use plastic bottles and cartons. It's a small but impactful step towards a more sustainable lifestyle.
- Cost-Effectiveness: While the initial investment in equipment might seem daunting, in the long run, buying apples in bulk and juicing them yourself can be more economical than consistently purchasing premium store-bought juices. You get more juice for your money, especially during apple harvest season.
- Control Over Sugar Content: Many commercial apple juices pack a surprising amount of added sugar, contributing to blood sugar spikes. Homemade versions allow you to enjoy the natural sweetness of apples without any unhealthy additions, making it a much healthier beverage choice for you and your family.
Prepping for Perfection: Choosing Your Apples and Essential Steps
Before you begin the juicing process, a little preparation goes a long way in ensuring a delicious and smooth experience. The type of apple you choose can dramatically impact the final taste of your juice, so consider your preferences:
- Sweet Apples: For a naturally sweeter juice, opt for varieties like Fuji, Gala, Honeycrisp, or Golden Delicious.
- Tart Apples: If you prefer a tangier juice, Granny Smith or Braeburn are excellent choices.
- Balanced Flavor: A mix of sweet and tart apples often yields the most complex and satisfying flavor profile. Consider combining Fuji with Granny Smith for a perfect balance.
Basic Preparation for Any Method:
- Wash Thoroughly: Always wash your apples under cool running water to remove any dirt, pesticides, or wax.
- Remove Stems: Stems can be fibrous and aren't pleasant to consume.
- Inspect for Blemishes: While small bruises are fine, cut away any heavily bruised or rotten spots.
Method 1: Making Apple Juice with a Juicer
For those who own a juicer, this method is by far the quickest and most efficient way to extract pure apple juice. It minimizes effort and yields a clear, pulp-free drink.
Tools You'll Need:
- A reliable juicer (centrifugal or masticating)
- Sharp knife and cutting board
- Serving glasses or an airtight container for storage
Ingredients:
- 6-8 medium-sized apples (your preferred variety)
- Optional: 1-inch piece of fresh ginger, peeled (for an added zing)
- Optional: 1/2 lemon, peeled (for brightness and to help prevent oxidation)
Instructions:
- Prepare Your Apples: After washing and removing stems, cut the apples into pieces small enough to fit comfortably into your juicer's feed chute. For most juicers, there's no need to peel or core, as the machine effectively separates the pulp and seeds from the juice. If using ginger or lemon, cut them into small pieces as well.
- Juice Away: Turn on your juicer. Carefully feed the apple pieces into the chute, pushing them down with the tamper provided. If incorporating ginger or lemon, feed them along with the apples. The fresh juice will flow into the collection jug, while the pulp will be ejected into a separate container.
- Serve Immediately or Store: Pour your freshly made juice into glasses and enjoy! For optimal taste and nutrient retention, it's best consumed right away. If you have leftovers, transfer the juice to an airtight container and refrigerate for up to 2 days. Adding a squeeze of lemon juice can help slow down oxidation and maintain color.
Expert Tips for Juicer Users:
- Chill Your Apples: Cold apples tend to yield more juice and make for a more refreshing drink.
- Feed Gradually: Don't overload your juicer. Feed pieces one by one to ensure efficient extraction.
- Clean Promptly: Juicers are easiest to clean immediately after use, before pulp dries and hardens.
Method 2: Making Apple Juice Without a Juicer (Using a Blender)
No juicer? No problem! A high-speed blender can efficiently break down apples, and with a little straining, you can still achieve delicious homemade apple juice. This method is slightly more involved but equally rewarding.
Tools You'll Need:
- High-speed blender
- Fine-mesh strainer, cheesecloth, or a nut milk bag
- Large bowl or pitcher
- Sharp knife and cutting board
- Airtight container for storage (if needed)
Ingredients:
- 6 medium-sized apples (your preferred variety)
- ½–1 cup of filtered water (start with ½ cup and add more if needed for blending)
- Optional: Spices like a pinch of cinnamon or a dash of nutmeg for flavor
Instructions:
- Prepare Your Apples: Wash, remove stems, and then core and chop the apples into small, uniform pieces. Unlike with a juicer, you'll want to remove the core here to ensure a smoother blend and avoid any potential bitterness from seeds. Peeling is optional; leaving the skin on adds more fiber and nutrients, but may result in a slightly cloudier juice.
- Blend Until Smooth: Place the chopped apple pieces into your blender. Add ½ cup of water. Secure the lid and blend on high speed until the mixture is completely smooth and resembles a thick applesauce or puree. If the blender struggles, add more water, a tablespoon at a time, until it blends easily.
- Strain the Pulp: Place your fine-mesh strainer over a large bowl or pitcher. If using cheesecloth or a nut milk bag, line the strainer with it. Pour the apple puree into the strainer.
- Extract the Juice: Using a spoon or spatula, press the pulp firmly against the strainer to extract as much liquid as possible. If using cheesecloth or a nut milk bag, gather the edges and twist, squeezing the pulp with your hands to force out the juice. Continue until no more liquid can be extracted. The remaining pulp can be saved for other uses (see tips below).
- Serve and Enjoy: Pour the freshly strained apple juice into glasses and serve chilled. Store any remaining juice in an airtight container in the refrigerator for up to 2 days.
Expert Tips for Blender Users:
- Water Adjustments: The amount of water needed depends on the juiciness of your apples and the power of your blender. Start small and add gradually. Less water yields a thicker juice.
- Double Strain for Clarity: For a super smooth, less cloudy juice, you can strain the juice a second time through a fresh piece of cheesecloth or a very fine mesh.
- Don't Waste the Pulp: The leftover pulp is still rich in fiber! You can add it to muffins, bread, oatmeal, or even use it as a base for savory dishes.
For more detailed step-by-step instructions on both methods, you might find our companion guide Easy Homemade Apple Juice: Juicer & No-Juicer Methods incredibly helpful.
Maximizing Your Homemade Apple Juice Experience
Once you've mastered the basic methods, there are plenty of ways to elevate your homemade apple juice and make it a truly exceptional beverage.
- Optimal Storage: To maintain freshness and reduce oxidation (which causes browning), always store your apple juice in an airtight glass container, preferably a jar with a tight-fitting lid. Fill the container as much as possible to minimize air exposure. A squeeze of lemon or lime juice can also act as a natural preservative.
- Creative Flavor Pairings: Don't limit yourself to just apples!
- Spices: A pinch of cinnamon, nutmeg, or allspice can be added to the blending stage (for blender method) or infused into the finished juice.
- Herbs: Fresh mint or a sprig of rosemary can add an unexpected aromatic twist.
- Other Fruits & Vegetables: Combine apples with carrots for a sweet and earthy juice, spinach or kale for a nutrient boost, or berries for a vibrant color and extra antioxidants. A small piece of beet can add a beautiful ruby hue.
- Serving Suggestions:
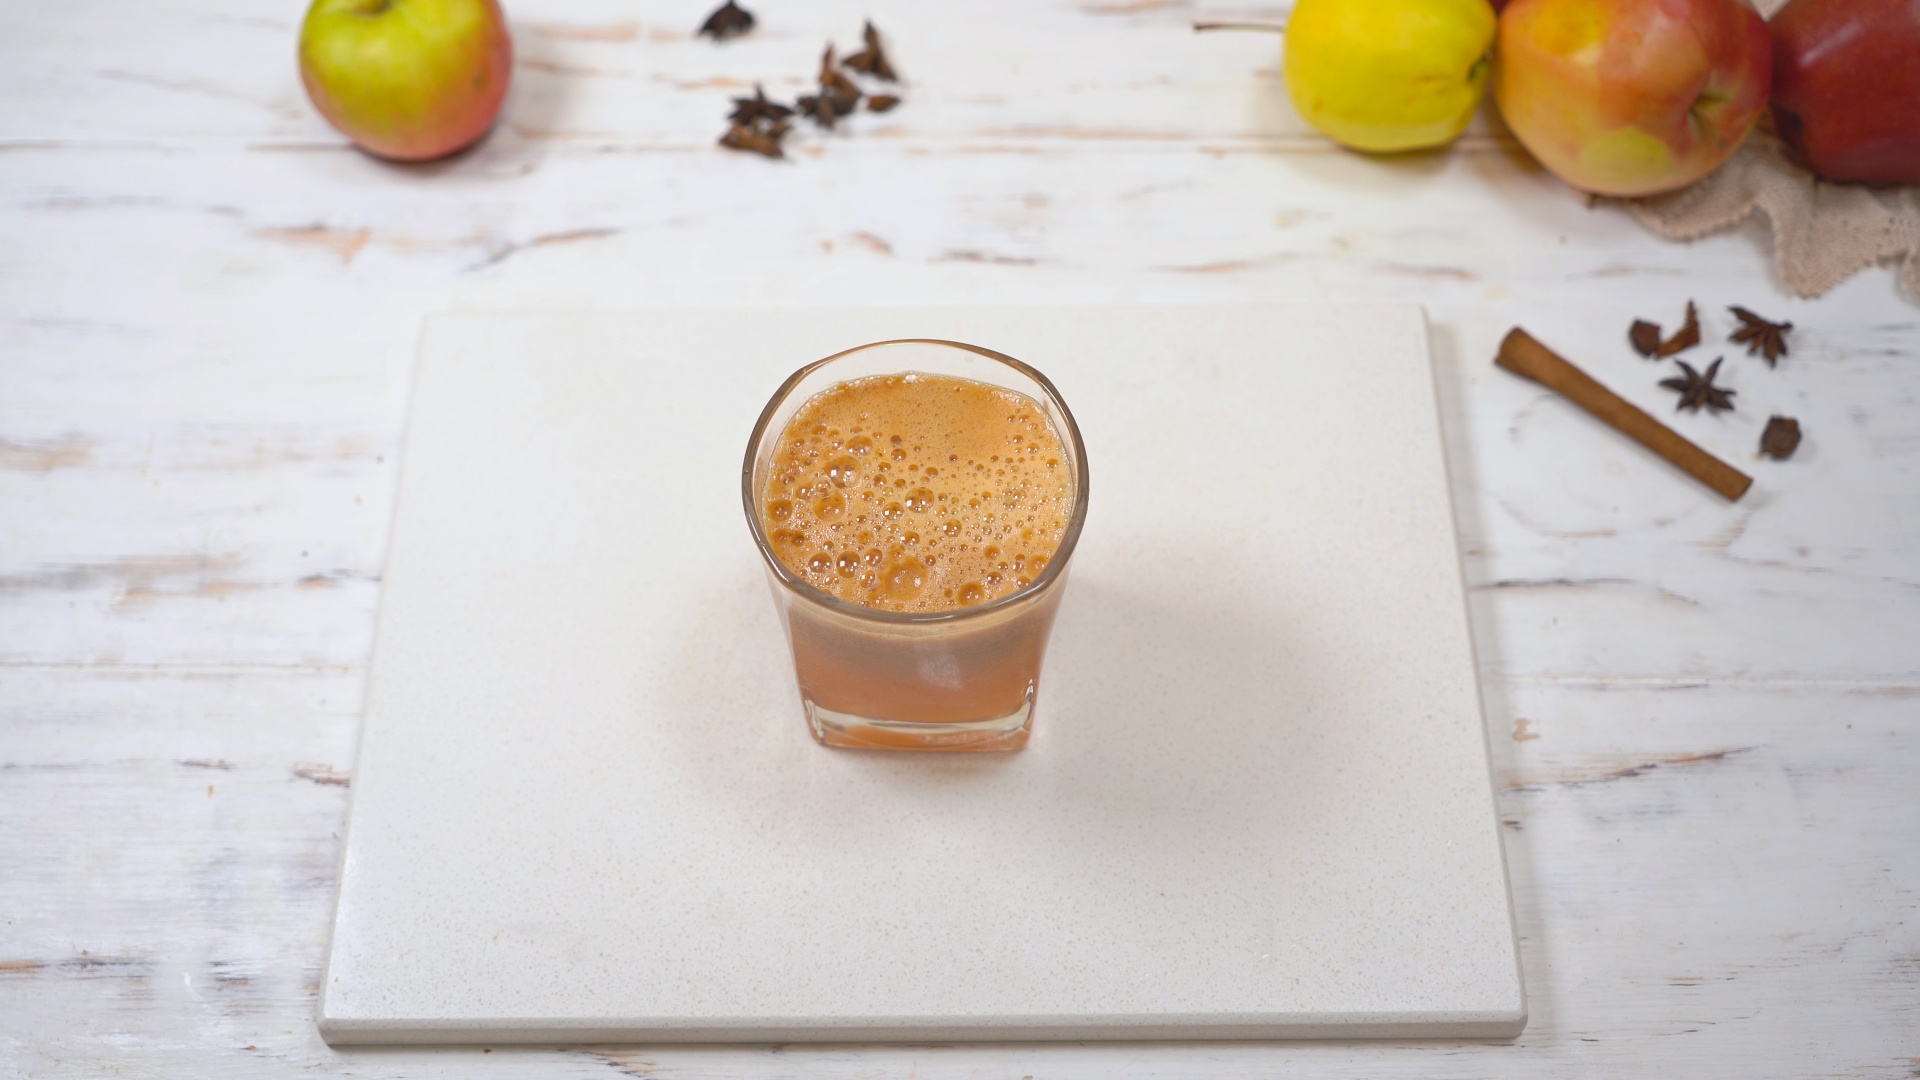
- Chilled: The classic way to enjoy it, perhaps with a slice of apple or a cinnamon stick as garnish.
- Warm: Gently heat the juice with cinnamon sticks and cloves for a comforting non-alcoholic mulled apple cider.
- Cocktail/Mocktail Base: Homemade apple juice makes an excellent mixer for cocktails or a refreshing base for non-alcoholic spritzers with sparkling water.
- Smoothies: Use it as the liquid base for your morning smoothie for added flavor and nutrients.
- Utilizing Leftover Pulp: For those using a juicer, the pulp can still be useful. Beyond composting, consider baking: apple pulp muffins, cookies, or even adding it to oatmeal can boost fiber. For blenders, the pulp is more finely textured and even easier to incorporate into recipes.
Making apple juice at home is a simple pleasure that delivers significant benefits, from superior taste and nutrition to complete control over ingredients. Whether you opt for the efficiency of a juicer or the accessibility of a blender, the process is straightforward, and the reward is a vibrant, fresh, and wholesome drink. So, gather your favorite apples, choose your preferred method, and discover the unmatched satisfaction of sipping on your very own homemade apple juice. Enjoy the pure, natural goodness!
